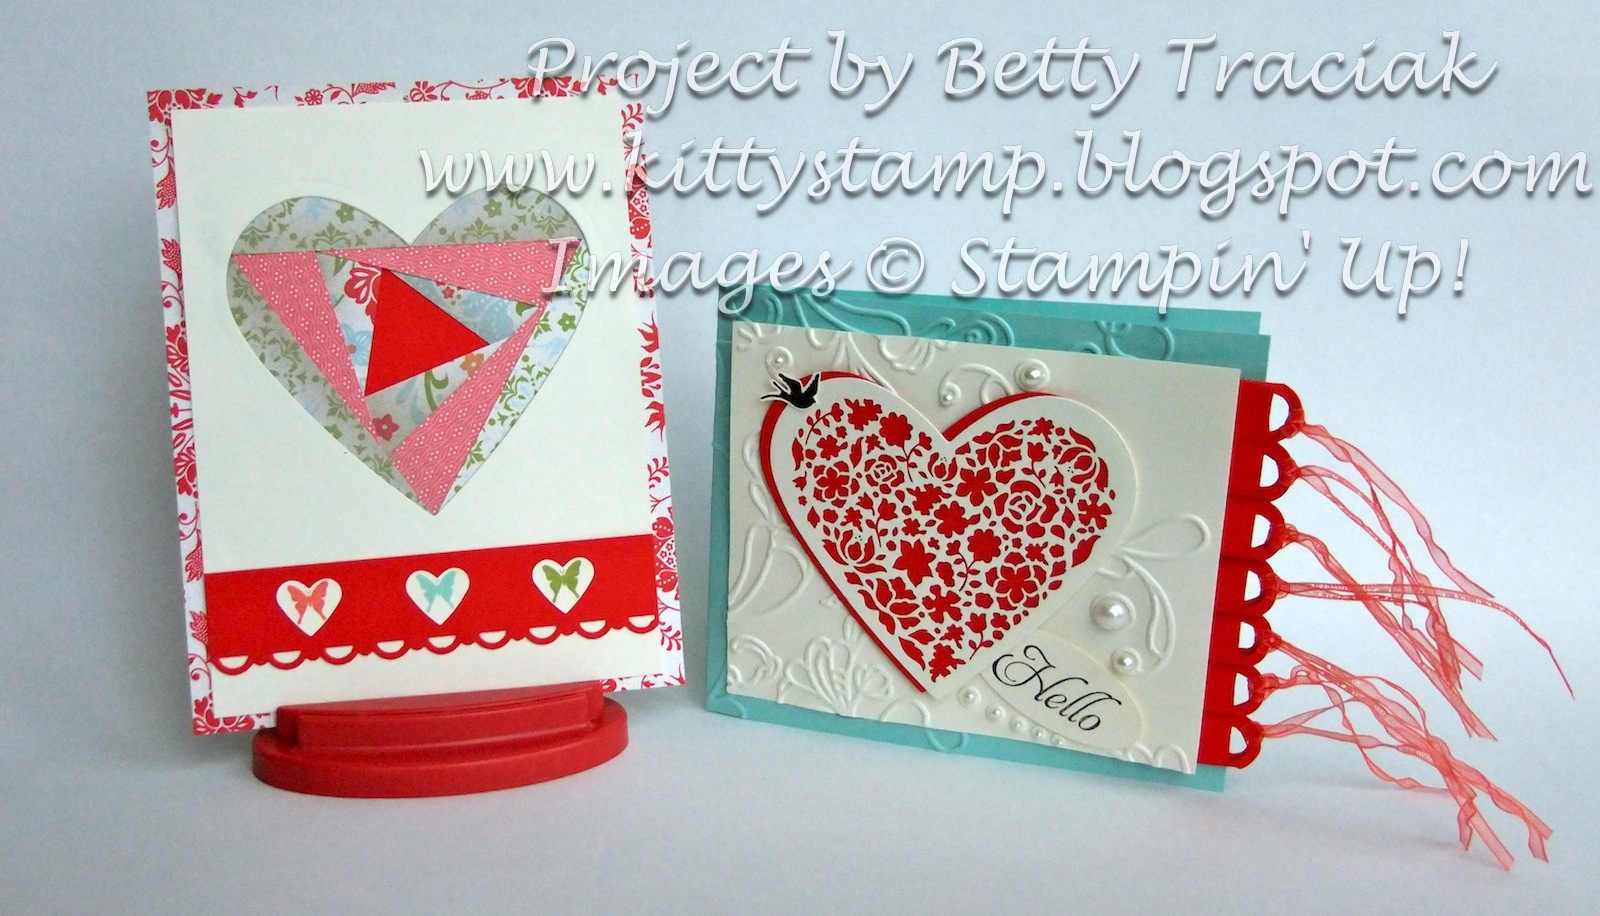
What is better than a lovely handmade card? Why two of course! I started with one Designer Cuts card from the Occasions Mini Catalog to make these two cards.
I used a Hearts Framlit die to cut out the heart from the front of the card and layered it offset on a Poppy Parade heart cut with the same Hearts Framelit. The Very Vanilla layer is the back of the original card cut down to 3-3/4" X 4 1/2" and embossed with the Elegant Lines folder.
The base a 4-1/4" X 10" piece of Pool Party cardstock scored at 5". This slightly shortened base gave me room to add a pleated border to the edge and have it still fit in a regular envelope. The border was cut with the Designer Rosette die and pleated as in
this post. Though it does not show up in the photo this gives a nice texture and strength to the edge. The 1/8" organdy ribbon is from the Everyday Enchantment Ribbon and Brad pack in the Sale-a-Bration catalog. After looping the ribbon through each opening, I used the Heat Tool to ever-so-slightly melt the ribbons. The organdy ribbon is very delicate so be careful when doing this that it does not melt too much!
The second card is made from the remaining cardfront piece that now has a heart opening. Working from the back, I added strips of paper starting at the outer edges and working in. This technique is called Iris Folding (although in this case I did not fold the paper but used strips of DSP.)
On both cards the stamped images are from the Elementary Elegance set which is available starting tomorrow in the Sale-a-Bration Catalog.
And speaking of Sale-a-Bration.... members of Stampin' Addicts are preparing for this weekend's 2012 Sale-a-Bration Blog Hop. Each stop will feature one of the stamp sets or accessories that are available during Sale-a-Bration. There will be lots of inspiring projects so stop back then!
Additional info:
This is what the original Designer Cuts card looks like. I placed it on a dark background so the laser cuts show up. To make the two cards, first cut on the score line to separate the back from the front.
Then position the Hearts Framelit over the laser cut area.
I stick a post-it note over the cardstock and Framelit to hold it in place as it is run through the Big Shot cutting machine. Post-its work well because they hold securely but do not leave a residue on the paper.
Happy Stamping!!


LOVE the tip!!! duh...why didn't I think of that.. I thought of taping the framelit down.. but post its... WONDERFUL!! TFS!!
ReplyDeleteI love the ribbon treatment at the edge of your card. Thanks for sharing a tip on keeping those dies in place
ReplyDelete