

My video tutorial for the Slimline Partial Diecut card has been posted on Splitcoast Stampers!

As the name implies this is fun shaped card is made with a partial diecutting technique. It is very quick and there are so many possible variations.
 |
| This works wonderfully with double-sided designer paper. |
 |
| An added inside layer for stamping and a greeting |

The angle is cut to follow the design on the paper.
 |
| I sponged soft colors of ink on the background. Also a little bit of the inside layer peeks out along the edge. |
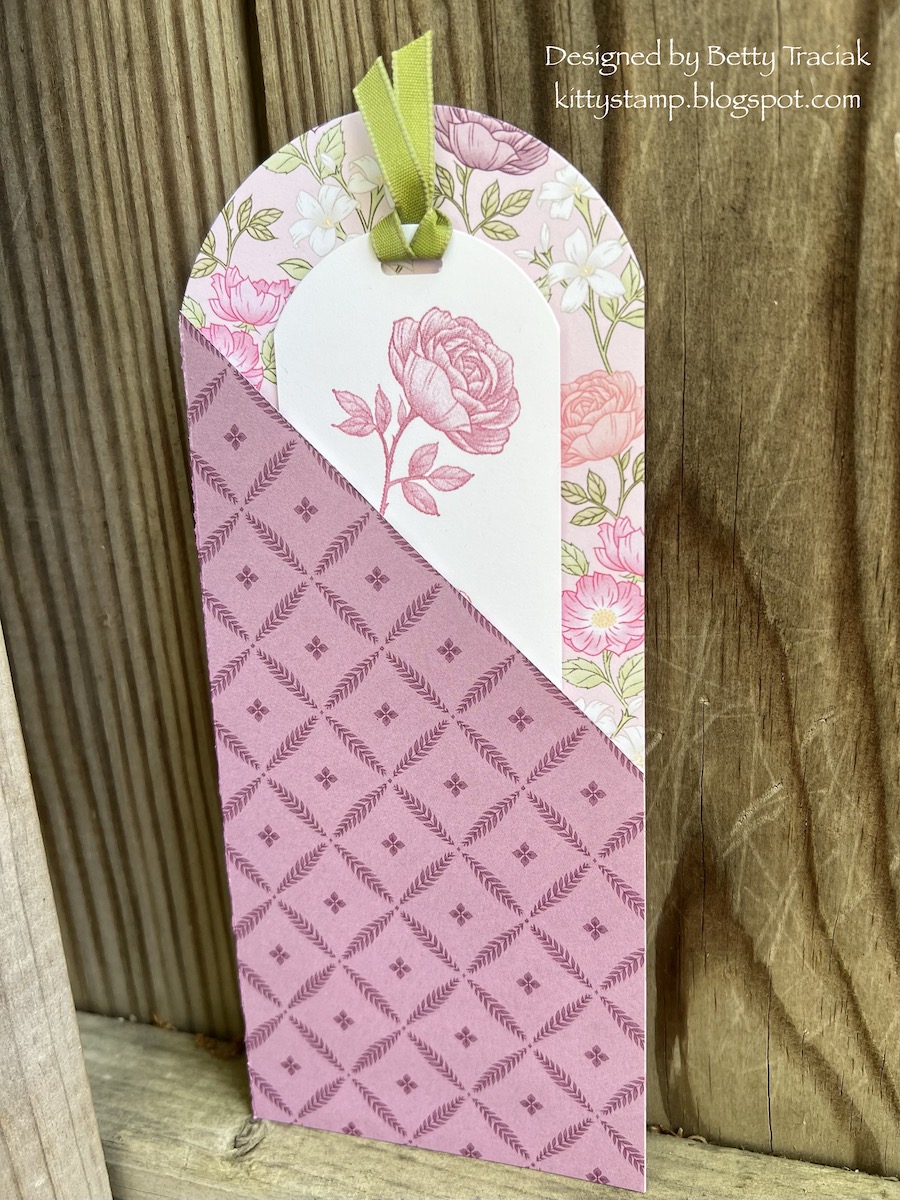 |
| Another idea is to seal the edges to form a pocket. |
 |
| A pretty bookmark fits perfectly. |
This card shape is one that I came up with way back in 2015. I really liked the original card and thought I would recreate a version with current supplies. The new one is smaller than the original. You can see the original one is this post. All the little pearls make it special!
 |
| For this smaller size, start with a 3" X 3" piece of cardstock. Score at 3". |
Click below for the video tutorial. The written tutorial can be found on the Splitcoast Stampers website.
There is also place to upload your projects inspired by this idea. It can be found HERE. I would love to see what you create!
Card with Belly Band:
Stamps: Butterfly Brilliance
Paper: Basic White, Basic Black Cardstock, Perfectly Penciled Designer Series Paper
Ink: Momento Tuxedo Black Ink
Stampin' Blends: MInt Macaroon, Pool Party, So Saffron, Pale Papaya
Card with Sponging:
Paper: Basic White Cardstock, Perfectly Penciled Designer Series Paper
Ink:: Petal Pink, So Saffron,Mango Melody, Old Olive
Card with Bookmark:
Stamps: Wondrful World, Art Gallery
Paper: Basic White Cardstock, Wonderful World Designer Series Paper
Ink: Rich Razzleberry, Old Olive