Thursday, October 9, 2014

Stampin' Addicts Winter Holiday Blog Hop


Several weeks ago the demonstrators from Stampin' Addicts hosted a blog hop featuring the fall items from the 2014 Stampin' Up Holiday catalog.  The catalog has so many wonderful things we could not fit them all in one hop so this weekend we have Part Two of the hop showing off the winter products.

I am using the Gift Card Envelope & Trims Framelits Die.  Of course this die can be used to make a little envelope just the right size for a gift card.  And you can use it as a pocket on cards or scrapbook pages.  Here are two more ideas:

Join four diecuts end to end and then into a circle.  Fold the flaps down.   Add a square of cardstock to the bottom and you have a super cute, super quick box.

Cut away three of the tabs and you have a either a barn shape or a silo shape depending on which tabs you remove.

I created a framed snowy farm scene with the pieces.  I used the Festival of Trees stamp set and coordinating punch as well.  The straw in the haymow is frayed bits of Hello Honey Satin Ribbon. 

Here is a visual for creating the barn and silo shapes:
In this orientation, remove the side and bottom tabs to make a barn.
For a silo, orient the diecut in this direction and remove the side and bottom tabs.

Now it is time to see what other wonderful winter wonders our members have created.  Please click on the buttons below to continue.   The Next button will take you to Mary's Blog and her happy Holiday Home goodies and the Previous button will take you to Kim's cute Curvy Keepsakes projects.


Sunday, October 5, 2014

Stamp Review Crew: Work of Art


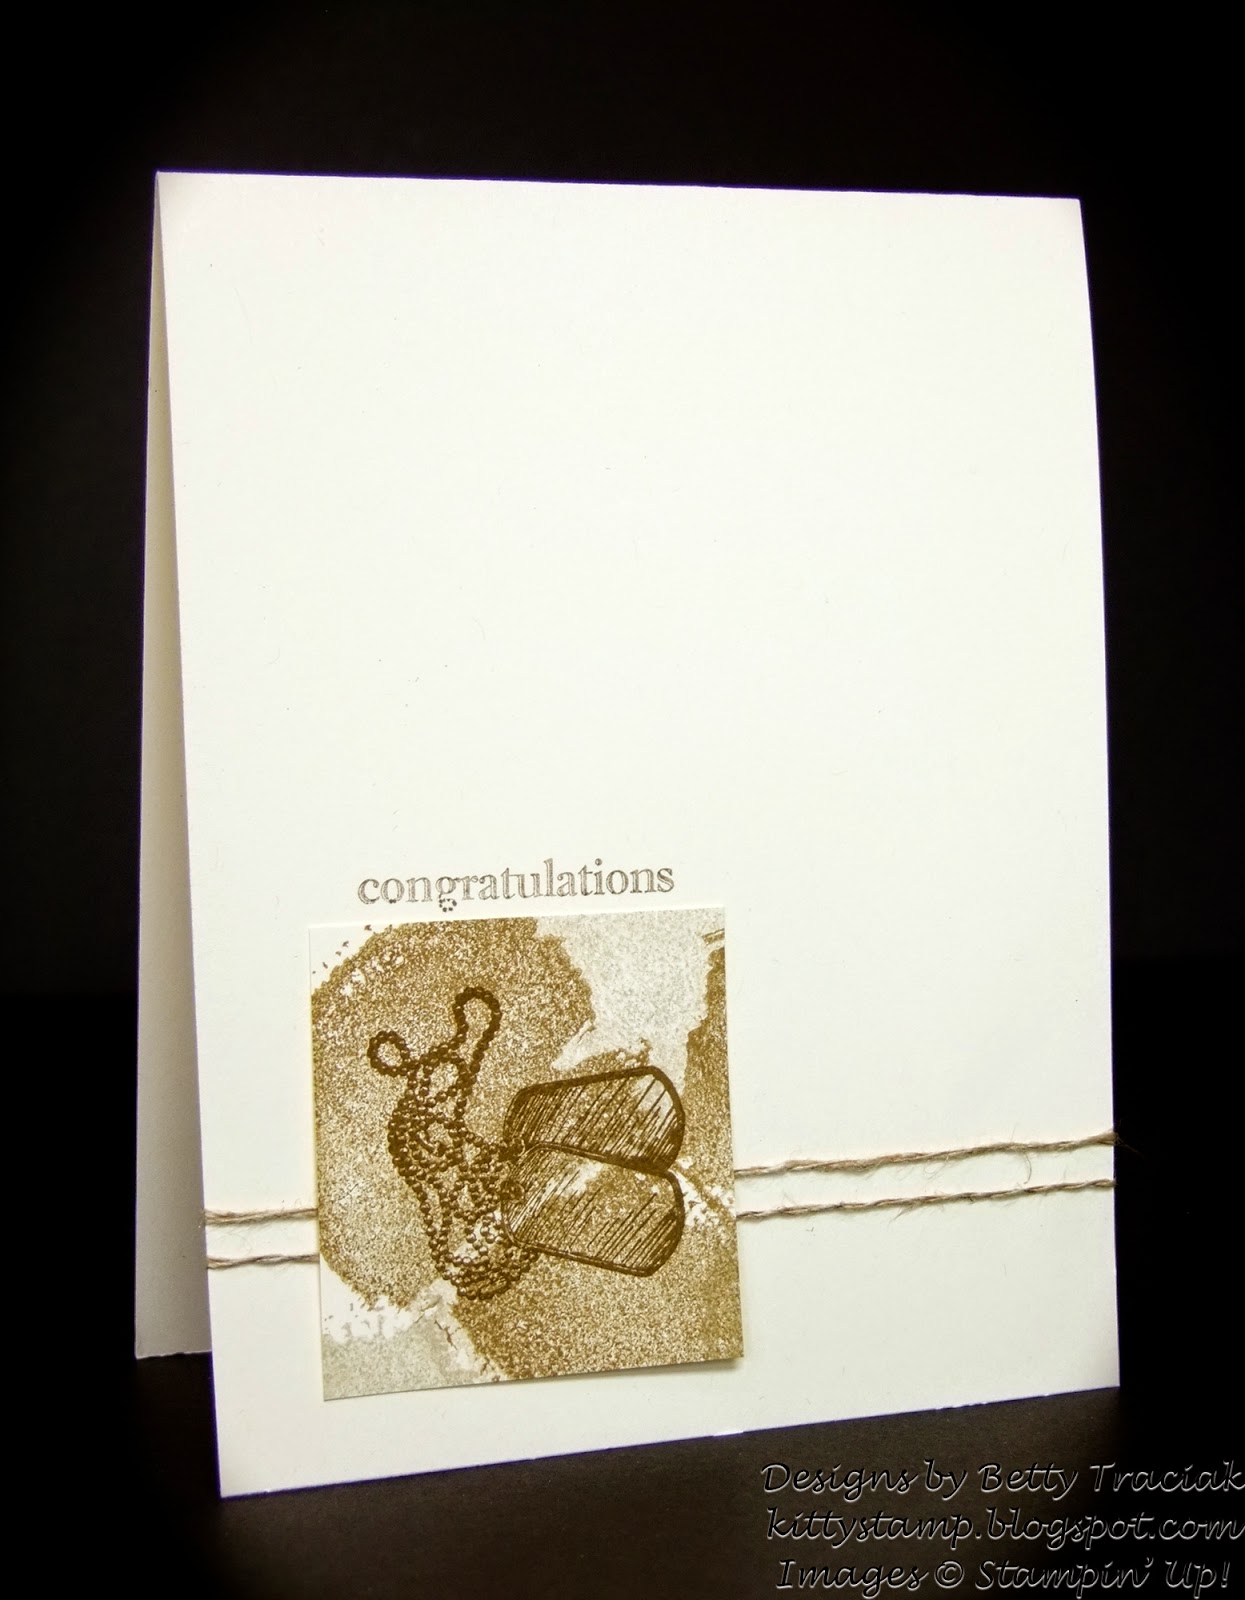
The "Crew" is reviewing the very popular stamp set Work of Art for this edition.  In fact this set is so popular I had to really stretch my creative muscles to come up with a unique idea.   I had several things that ended up in the trash before I hit upon the idea of using one of the "color swishes" to create a camouflage pattern to pair with the For Your Country stamp set.  
I have some guys near and dear to my heart I will be sending these to.


Tips for creating the camo background pattern:
  • The card base and background are Very Vanilla cardstock.
  • It is easiest to stamp a larger section of the background camouflage pattern,  then trim to size for stamping.
  • Use the larger "swish" image and stamp repeatedly.  
  • Start with the darkest color of ink.  (Soft Suede).  Stamp off once before stamping on the cardstock.
  • Rotate the stamp to vary the pattern.
  • Fill in with the medium (Crumb Cake) and light colors (Sahara Sand) also stamped off once leaving a bit of Very Vanilla showing through.  
  • Stamp the images from the For Your Country with Soft Suede (do not stamp off).
Now please click on the buttons below to continue on the hop.  You will be delighted with the loads of creativity!


Stamps:  Work of Art, For Your Country, Itty Bitty Banners, Just Sayin'
Paper: Very Vanilla
Ink: Soft Suede, Crumb Cake, Sahara Sand
Accessories:  Linen Thread