The Crew has something fun and new for you on this hop! We are featuring the new 2024 - 2026 In Colors. We are excited to share our ideas with you and hope you enjoy the hop!
To Ellen's creations! |
To Terri's's project! |
The Crew has something fun and new for you on this hop! We are featuring the new 2024 - 2026 In Colors. We are excited to share our ideas with you and hope you enjoy the hop!
To Ellen's creations! |
To Terri's's project! |
To Heidi's creations! |
To Terri's blog! |
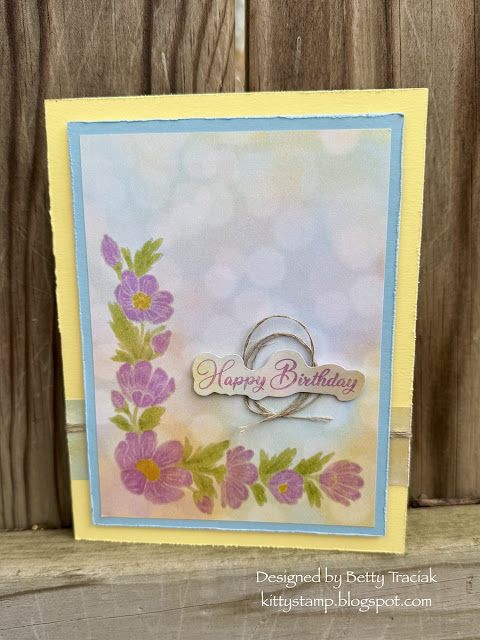
I enjoyed an afternoon of crafting creating these birthday cards. I was inspired by cards made by fellow Stamp Review Crew member Kim Fee to combine the Everyday Detailed Dies with the pretty Flight and Airy paper.
Hello and welcome to a Stamp Review Crew Bonus Hop! We have regular blog hops the first and third Mondays of the month but are adding an extra hop this month! We are departing from our usual format of highlighting one stamp set and instead are showcasing the current Sale-a-bration selections.
I have two cards made with the super cute Trusty Toolbox Designer Series Paper. |
Inside is a middle layer attached to an accordion fold with the fussy cut saw popped up on dimensionals. |
Card base: Cut 4 1/4" x 11". Score at 3 1/2", 4 1/2", and 5 1/2". Accordion fold and seal with adhesive. Front DSP panel: 4" x 5-1/4" Middle panel: 3-1/2" x 5-1/8" Back panel: 3" x 4-3/4" |
The drawers are popped up on Dimensionals. I ran a black Stampin' Marker along the edges of the handcut tools to make them stand out. |
Inside I accordion folded a 12 inch piece of the ruler patterned paper |
and added the words from the Perennial Postage stamp set. |
To Cindy's blog! |
To Ellen's Blog! |
The coordinating dies, cork dots, and faux leather trim add lots of textures. |
The card front is scored 1-1/4" from the edge and folded back so the DSP peeks out on the inside edge. |
To Jay's creations! |
To Kim's project! |
To Holly's blog! |
To Debra's Blog! |
Splitcoaststampers is featuring my Embossing on Fabric video as this weeks tutorial! You can see the full tutorial including written directions by clicking HERE. Also there is a gallery where you can post your fabric embossed project and see others projects too!
I have two more examples I have not yet posted.
This one has two colors of pastel Minky fabric. Both fabrics are embossed with the Rays of Light stamp.
I cut a frame in the front of the card with the Deckled Rectangles dies. The fabrics are mounted on another layer of cardstock cut just a smidgeon smaller and mounted behind the frame. Adhesive tape works really well to hold the fabrics in place. Just be sure that you have them in the position you want the first time.
The butterfly and flower are from the Softly Sketched set. I very very lightly brushed the image with water after stamping with Gorgeous Grape classic ink to blend the ink.
The other project is stamped on velvet.
The black velvet is a bit tricky to photograph but the IRL it is pretty cool. On such a dark color a bolder stamp would show even better.
Hope to see your projects on Splitcoaststampers!!!