Welcome! The Stamp Review Crew has organized a bonus Blog Hop featuring the host stamp sets that available in the main catalog and in the holiday catalog. These sets are AWESOME! A great variety of styles to choose from.
The stamp set I am using is called Love You Lots and I have to say I love it a lot!
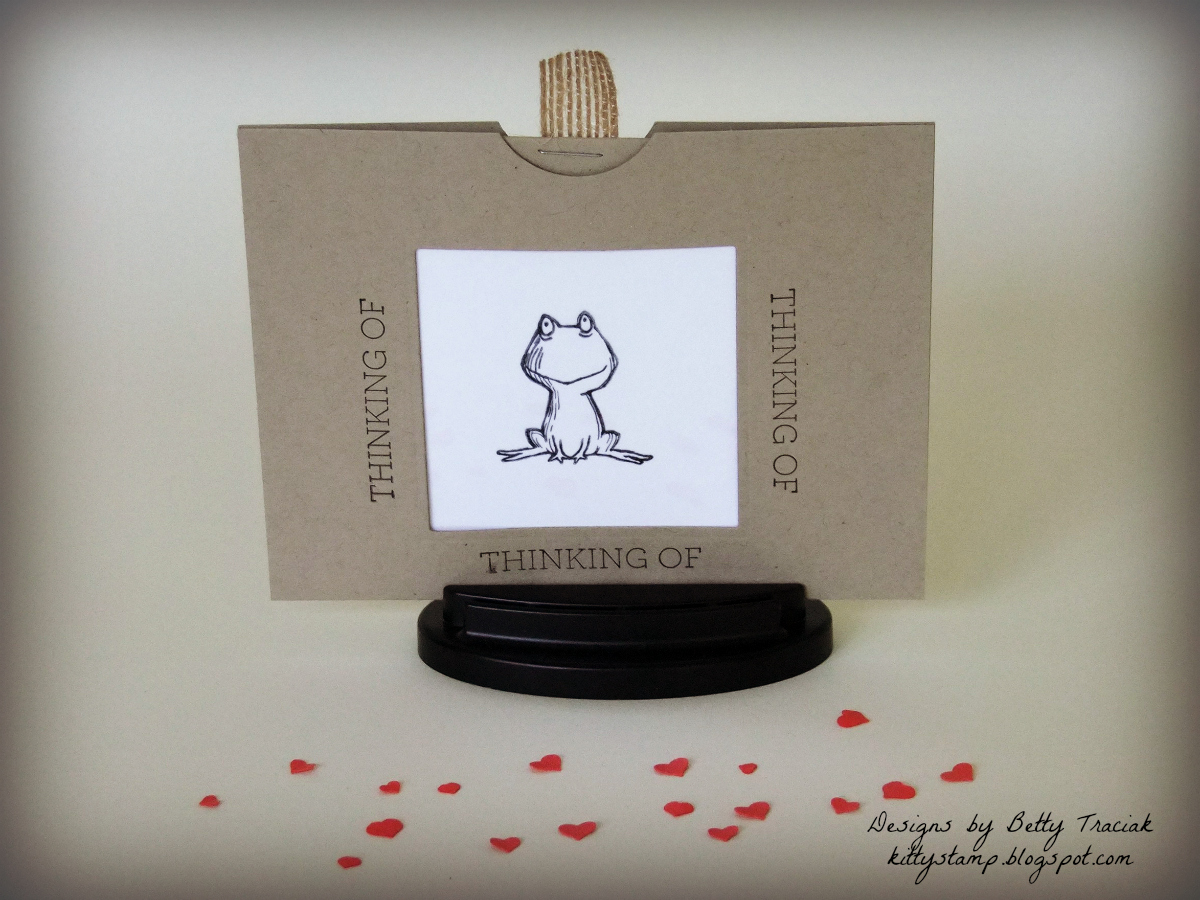
Taking advantage of the sweet line art in this set I made a magic card. It looks rather plain until...
the tab is pulled and the magic happens!
I stamped the "you" on the undermost layer along with the flowers. What a fun card technique!
My next card is one that I posted a little while ago to go along with a larger tutorial on making various types of spinner cards. (You can see the tutorial HERE.)
This one is a triple spinner and uses punches instead of framelits. Lots of love for someone special with this card!
Thanks a lot for stopping by and the crew would love to show you more of these wonderful host sets. Please click on the buttons below to hop along!
Magic card: SUPPLIES: Stamps: Love You Lots, Crazy About You Paper: Crumb Cake and Whisper White cardstock Ink: Staz-On-Jet Black, Classic Ink- Emerald Envy, Soft Sky, Soft Suede and Melon Mambo Accessories: Window Sheets, 5/8" Burlap Ribbon Punches: 1-3/8" Circle
Triple Spinner card:
SUPPLIES:
Stamps: Love You Lots
Paper: Basic Black, Melon Mambo, Pumpkin Pie and Tempting Turquoise Cardstock, Festive Birthday Designer Series Paper,
Ink: Basic Black Archival, Melon Mambo and Pink Pirouette Stampin' Write Markers
Punches: 1-1/4" and 2" Circle, 7/8" Scalloped Circle (retired) Big Shot: Baker's Box Thinlit (the heart)
Ready for a hop around the world? The "Crew" is a group of international SU! demonstrators who have collaborated to showcase a chosen stamp set for each blog hop. It is always a delight to see what everyone has created. So many different ideas for one stamp set!
The Timeless Textures set is one I often use in conjunction with other stamp sets- usually as a subtle background texture. This time I wanted to move it to the foreground as the main attraction on this wedding card.
The main panel has a Night of Navy flourish and touches of copper heat embossing on the grid and splatters. To add even more pizzazz I flicked tiny drops of gold Wink of Stella over the top section. (I masked the bottom portion to keep it splatter-free.)
The right side is super elegant with lots of copper elements. The Copper Embossing Powder looks amazing on the Copper Foil! It is a perfect color match. And the Copper Thread adds a very trendy accent (if I do say so myself!)
This one was a bit difficult to photograph with all the shiny parts! Up close and personal it is very pretty.
Now it is time to hop along for more timeless and textured projects!
SUPPLIES: Stamps: Timeless Textures, Balloon Celebration Paper: Thick Whisper White, Night of Navy Ink: Night of Navy, Versamark Big Shot: Gift Card Envelope and Trims Thinlit (for the heart) Accessories: Copper Foil, Copper Embossing Powder, Copper Thread, Gold Wink of Stella Glitter Brush Pen
Welcome to the latest Stamp Review Crew Blog Hop. The "Crew" is made up of Stampin' Up demonstrators from around the globe. Our blog hops focus on one stamp set each time. This time we using the wildly popular Foxy Friends set. We were invited to a casual country wedding and I thought these little foxes would be perfect as bride and groom. What an adorable couple!
Touches of burlap keep it country while lace and ribbon add a delicate feel.
I cut thin strips of organza ribbon for her veil and added blue cardstock to his bow tie.
Thanks so much for hopping with the Crew! Please click on the buttons below to see more ideas for these Foxy Friends!
SUPPLIES Stamps: Foxy Friends, Sunshine Sayings and Number of Years Paper: Mint Macaron, Dapper Denim and Whisper White Cardstock, Blooms and Bliss Designer Series Paper Ink: Soft Suede, Mint Macaron, Dapper Denim and Basic Black Ink Big Shot: Layering Oval Framelits, Large Numbers Framelits Accessories: 5/8" Burlap Ribbon, 5/8" Whisper White Organza Ribbon, Basis Rhinestones, Bow Tie Paper Clips, Delicate White Doilies
Welcome to our SA Fall Holiday Blog Hop! We are a group of Stampin' Up demonstrators who are definitely addicted to stampin' and we want to share that addiction with you! This time we are focusing on Fall themed products from the brand new Holiday Catalog. We are showing just a sampling of the new products so our hop is short and sweet.
And speaking of sweet...my chosen stamp set is called Sweet Home. It has coordinating thinlits to make adorable houses with sweet little decorations. I decided to make something a bit more scary for this hop though. I made a few simple modifications to the house diecut to create some mini Halloween treat holders shaped like coffins.
These are great fun to decorate with the tiny stamps and diecuts from the set. Little bits of DSP and trims go a long way on these mini holders.
They hold small treats such as a tootsie roll or a mini candy bar.
I made a video to show how to modify the die cut to make these. It also has details of the decorations.
Thanks for hoppin' with the "addicts"! Click on the buttons below to see more new fall products and great ideas!!
Hello and welcome to the latest Stamp Review Blog Hop! We are an international group of Stampin' Up demonstrators who have joined together for bi-monthy hops to bring you great ideas for a particular stamp set. This time we are each using the sweet set called Jar of Love.
I was recently invited to a picnic-themed bridal shower. The adorable Mason jars in this stamp set were just perfect! I used the color theme from the invitation to make the card and matching package decoration. When I arrived it was so fun to see that each table was decorated with a Mason jar filled with fresh pink and yellow flowers- I really wish I had thought to take a picture!
Older Mason jars were a pretty blue which I attempted to recreate by layering vellum over Soft Sky cardstock.
I haphazardly pleated a piece of the wrapping paper and used it to ground the jar and tie the package and card colors together.
Watermelon Wonder hearts are sandwiched between the vellum and the Soft Sky cardstock. I used the largest jar for the card and the middle-sized jar for the package decoration.
It was a bit hard to photograph the package and the card together!
Thanks for stopping by! Now please click on the buttons below to continue with the hop. We have a big hop this time with oodles of cute, cute ideas!
Supplies: Stamps: Jar of Love, Hardwood Paper: Vellum. Early Espresso, Soft Sky and Whisper White Cardstock Ink: Early Espresso, Soft Sky, Watermelon Wonder, So Saffron, Pear Pizzaz Big Shot: Everyday Jars Framelits Punches: Confetti Hearts Accessories: 5/8" Burlap Ribbon, Watermelon Wonder 5/8" Mini Striped Ribbon, Gold Sequin Trim
An idea for a triple spinner popped to mind as I was checking to see what other size punches might work for Circle Spinner Cards. The three hearts zip around the adorable little hedgehogs.
I did not add an underlying color layer this time as I wanted the stark contrast of black and yellow. Using punches for this made it really quick. Use a 2" punch to punch three holes in the DSP and a 1-1/4" punch for the middle circles. This joyful card will fit in business size envelope. The cardstock base is 8" X 9", scored at 4". The DSP layer is 3-1/4" X 8-1/4".
If you did not see yesterday's video tutorial for how make Circle Spinner Cards be sure check it out HERE!
SUPPLIES:
Stamps: Love You Lots (Hostess)
Paper: Basic Black, Melon Mambo, Pumpkin Pie and Tempting Turquoise Cardstock, Festive Birthday Designer Series Paper,
Ink: Basic Black Archival, Melon Mambo and Pink Pirouette Stampin' Write Markers
Punches: 1-1/4" and 2" Circle, 7/8" Scalloped Circle (retired) Big Shot: Baker's Box Thinlit (the heart)
Today is an exciting day as I have the privilege of being a guest tutorial author on Splitcoaststampers!
My tutorial is on the construction of Circle Spinner Cards. Once I got started I ended up with lots of ideas for different ways to make these. (I even have a triple spinner card I will be sharing tomorrow so be sure to stop by again then!)
I show a variety of products that can be used for making spinner cards. You probably have some of these things already in your craft room; there are lots of possibilities!
First up are a couple of cards made with nesting circle dies or framelits. The key is to look for combinations of dies that give a 3/8" gap for the spinner to move freely but not jump out.
This pinwheel looks great as a spinner!
Although the perspective of the photos make it a bit hard to see, this second card uses larger diameter circles than the one above.
A 3/4" circle wrapped with baker's twine makes a cute ball of yarn!
I tried using nesting oval dies. Works great!
Have fun with different designer papers to create a scene!
Next I looked through my die collection to see what else might be a possibility. I found some flower dies that would work too. With a shape like this the spinner does not move as freely but it is still a fun interactive card.
You can use buttons instead of pennies for the spinner mechanism
Punches can also work! Again just look for a 3/8" gap. A 1-3/4" and a 2-1/2" punch will do the job. I really like using punches for making these. It is quick and you can easily punch specific designs from the paper for cute accents.
Choose constrasting designs and colors for the under layer to make it pop
A wash with a Wink of Stella Glitter Pen makes the butterfly shine!
You can see the complete written and video tutorial by going to SPLITCOASTSTAMPERS. There is a specific gallery set up for your Spinner Cards. I look forward to seeing your projects and of course love to hear your comments.
Here is the video! This one was quite an undertaking. All sorts of things kept happening during the video taping. I should have made a blooper vid---I think it would be as long as the actual video! Thank goodness for editing software!
Supplies:
Pinwheel Card
Stamps: Crazy About You
Paper: Basic Black and Whisper White Cardstock. Festive Birthday Designer Series Paper